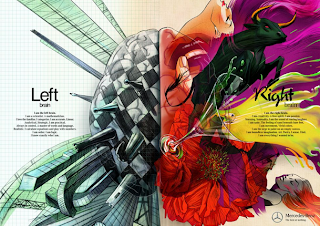
I've been meaning to learn more desktop publishing skills. It helps a lot in breaking work monotony (spreadsheets + corporate communications + liquidations) and hopefully builds the ambidexterity of my brain! Check these right/left brain ads out from Jeanie's blog to be inspired.
I read some articles earlier this year about free licensed Adobe CS2 software. I was able to secure legitimate copies of Creative Suite 2 versions Photoshop, Illustrator and InDesign for use at work. Yippie! My dream is to own (and use) a complete extended version, as well as be a certified Adobe expert from PCCI.
 | |
| Crop it then pop it! |
Then select each image to correspond to its sequence in the animated gif. You can set the amount of time the image appears before it moves on to the next one. Choose Save for Web, then choose .gif as your file format. Once saved, open the .gif in a browser to see the final product. Good luck!


No comments:
Post a Comment